This is how I fixed my rusted driver’s front seat mount (crossmember) on my 1998 (3rd Gen) Toyota 4Runner without welding or fabrication.
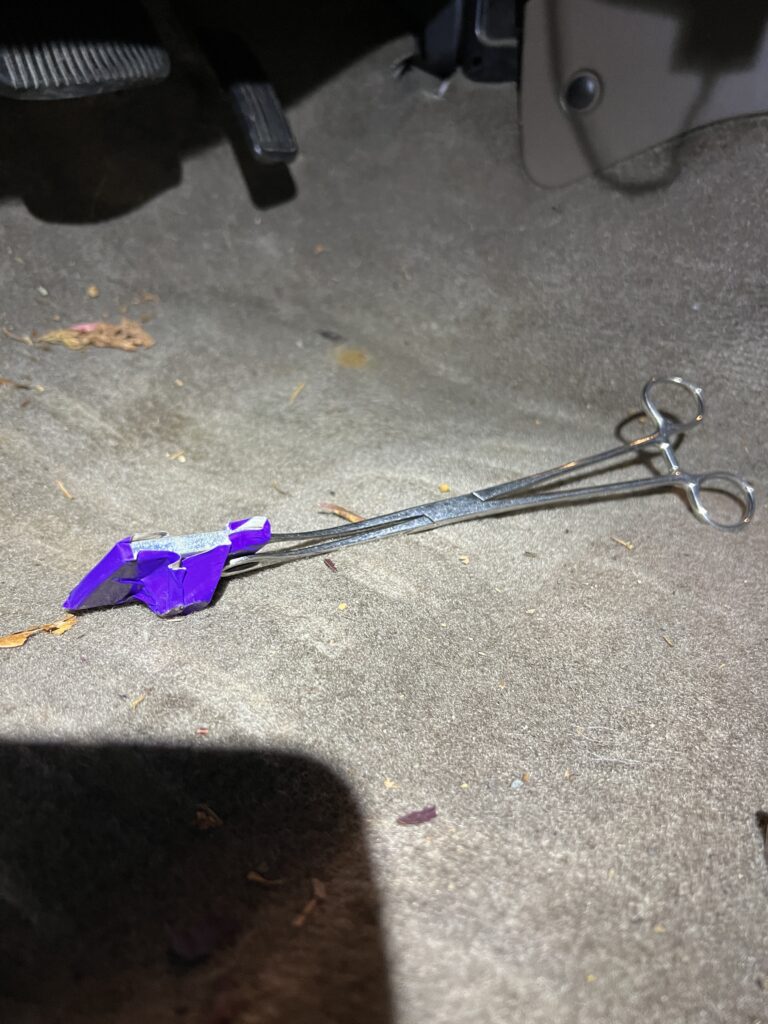
Tools Required: Philips screwdriver, 14 mm socket and ratchet, 16 mm open-end wrench, long forceps, duct tape.
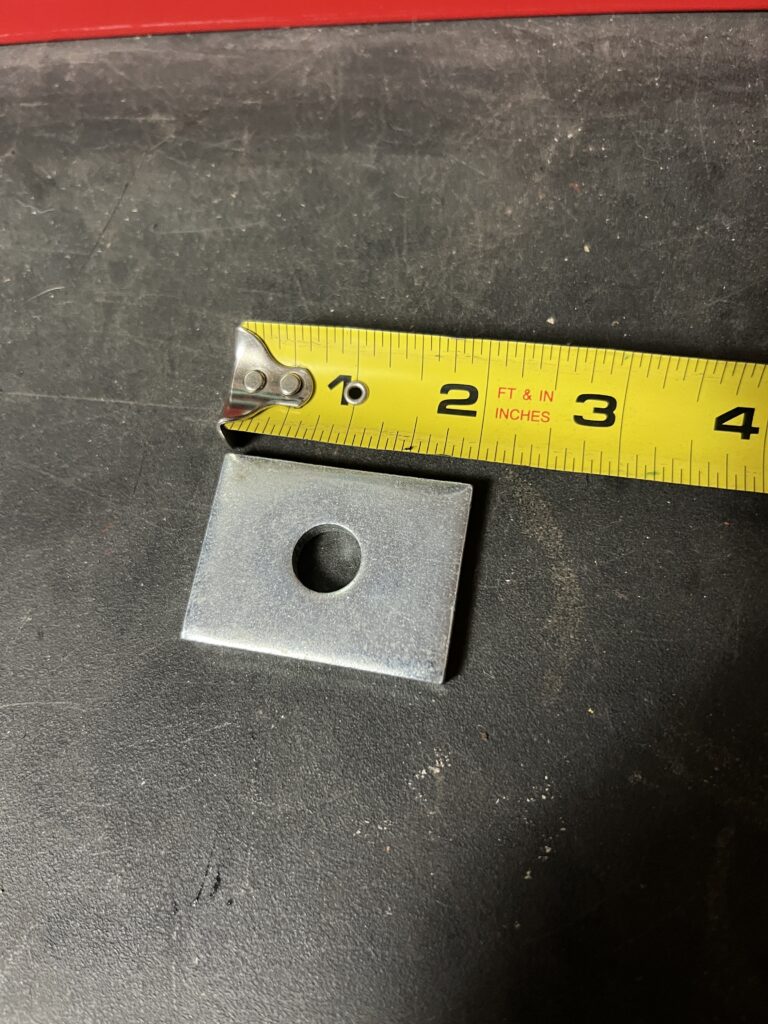
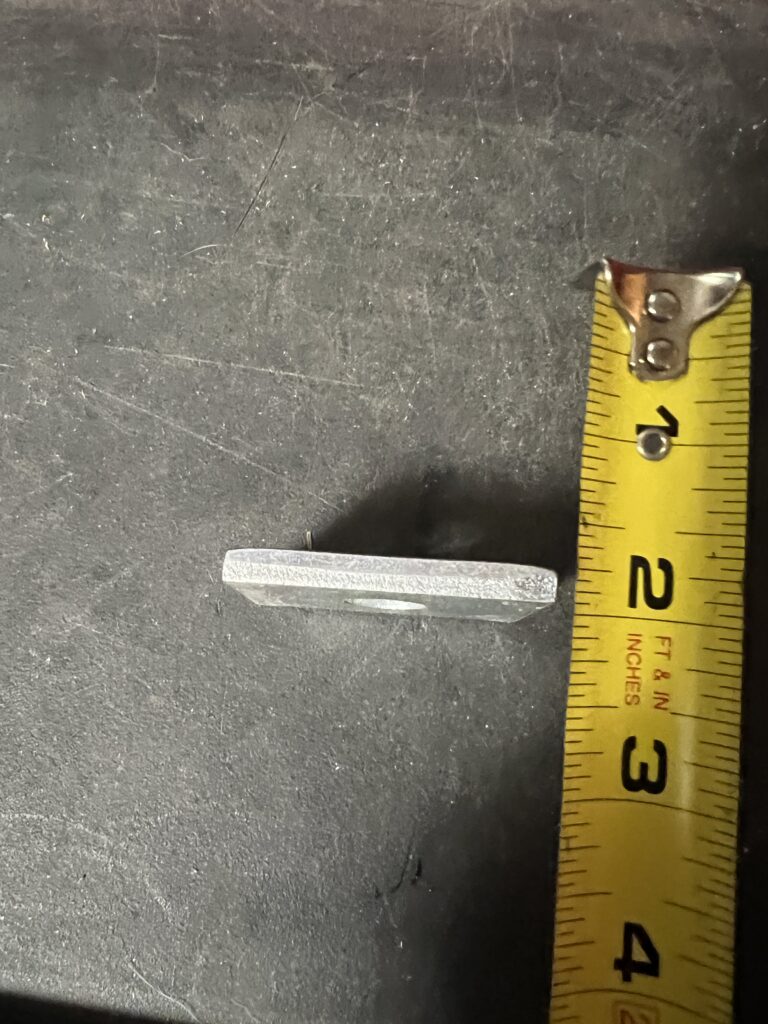
Parts required: 2″ x 1.5 ” thick metal plate with hole in center (found at hardware store and often used as a backer “washer” for heavy-duty fencing materials.
Step 1: Remove 4 screws from trim cover along bottom of door jamb.
Step 2: Remove 14mm seat bolts, unplug wire from seat, remove seat (5 minutes)
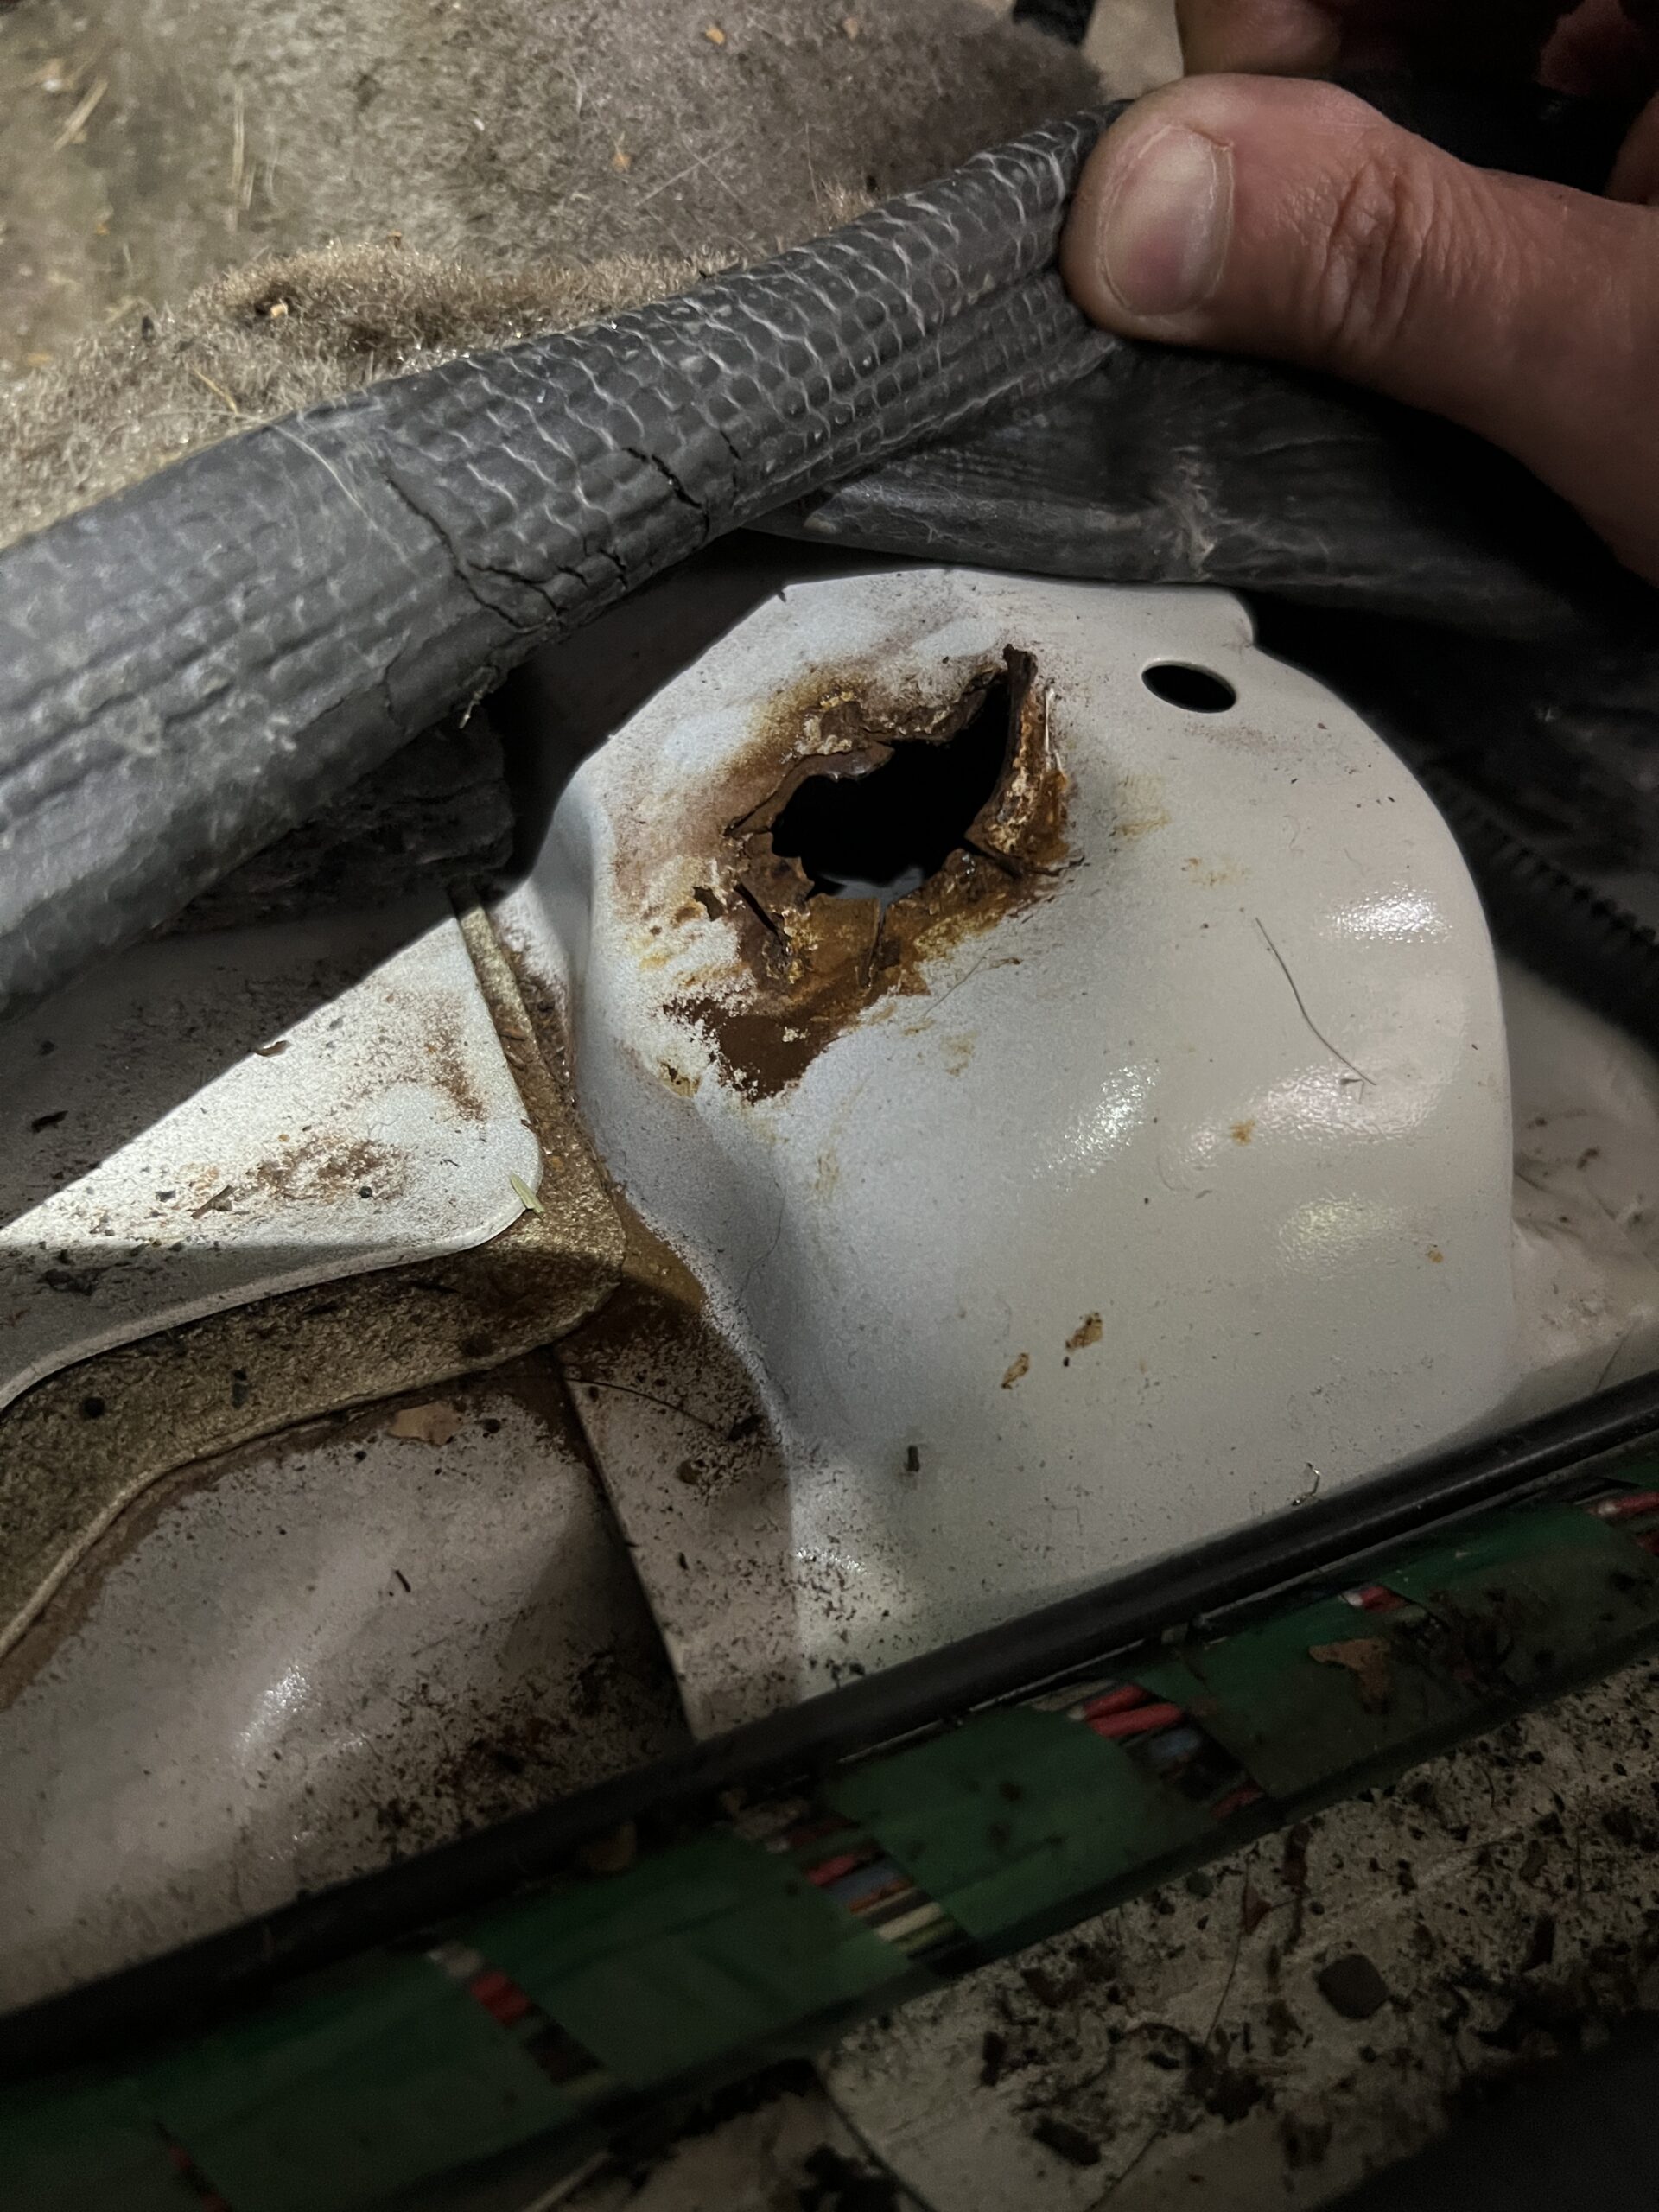
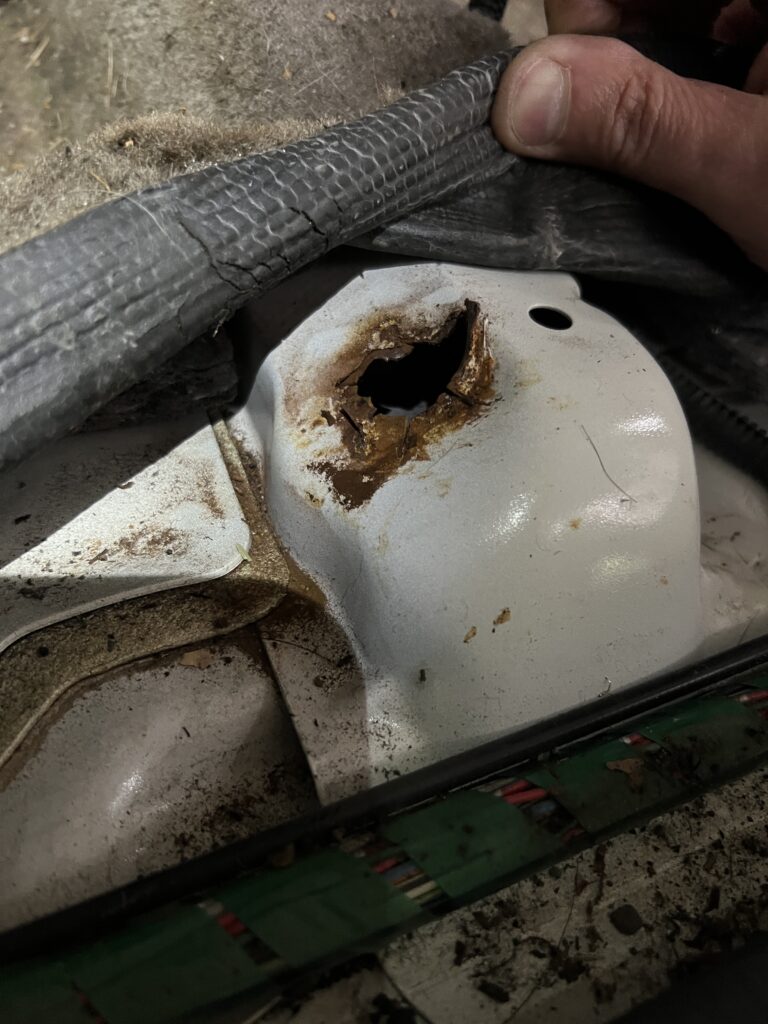
Step 3: Remove rusted-out seat bolt from seat bracket 16 mm nut.
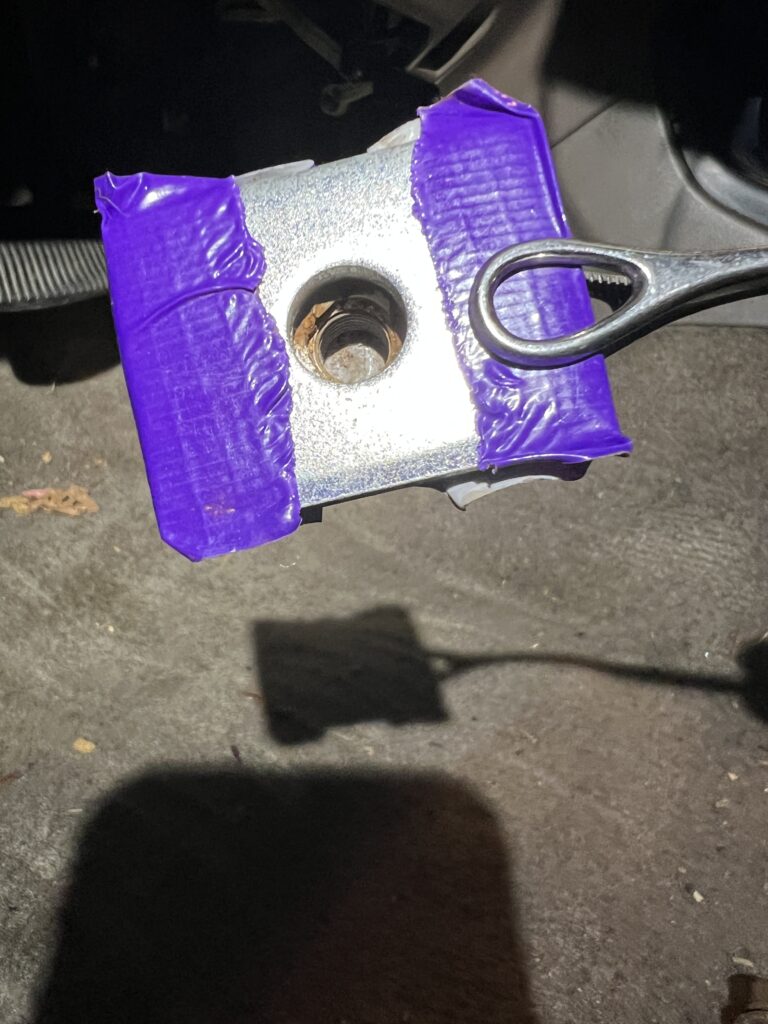
Step 4: Tape rusted nut to back of reinforcement plate. Using forceps, reach under carpet and utilizing the big open space (see red arrow below), roughly place plate side up under rusty section.
Step 5: Replace seat into position. Using a helper, one person uses the forceps to lift the plate/nut combo into position, while the other *pushes down* on the seat to ensure solid contact with the crossmember, and also threads the bolt into position. Note: the OEM bolt is just barely long enough to reach, so minimize extra space by using downward force on the seat, and be sure to prep the area in advance to minimize the metal sticking above or below the original surface of the crossmember.
Step 6: Once tightened to the point you can feel the nut break the duct tape and begin to turn, remove forceps and use the 16 mm *open end* wrench to blindly feel for the duct tape, while simultaneously using a ratchet to tighten the bolt. With a little patience and luck, the open end will slip onto the nut, allowing for complete tightening of the bolt!

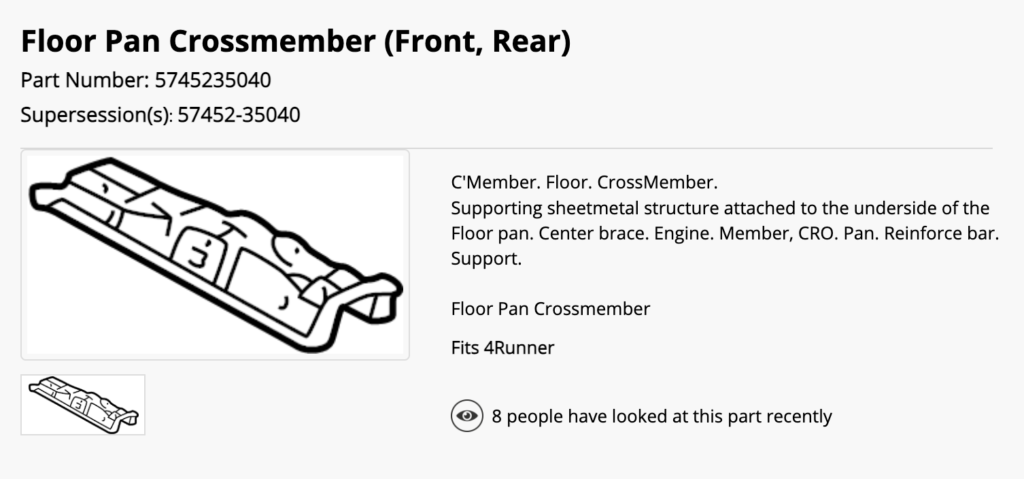
This is not a permanent fix, but will help reinforce the seat (no movement!) until I can obtain a permanent solution. I was unable to find the part #5745235040 as Toyota discontinued it, but if you are able to find the crossmember, have a body or more likely fabrication shop remove and replace the crossmember. Other solution observed on YouTube was to simple bolt the new crossmember on the top of this one. Good luck!
thank you, this is good work. i will have to investigate mine now because the bolt somehow broke.